Here you can customize the template settings by default for your E-shop: Product Details, Checkout and Thanks message.
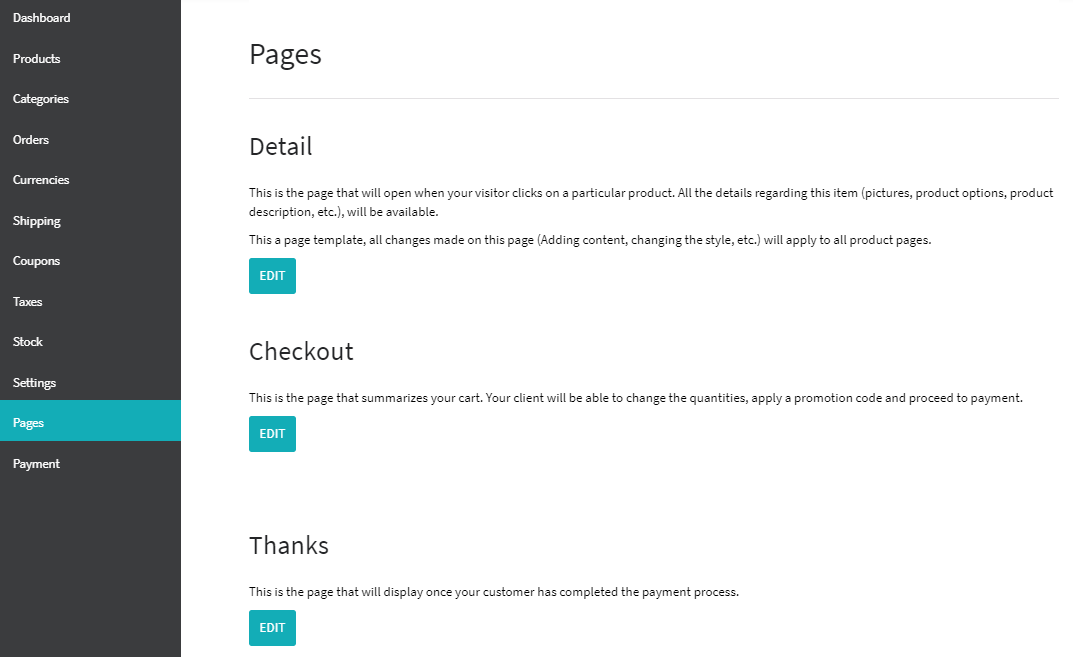
Details
This is the page that will open when your visitors click on the "Details" link of a particular item in your E-shop. All the details regarding this item (pictures, product options, product description, etc.), will be available.
To customize the "Product Template" page, go to the "Pages" section, and then to "Details" and click on "Edit".
All changes made on this page (Adding content, changing the style, etc.) will apply to all products.
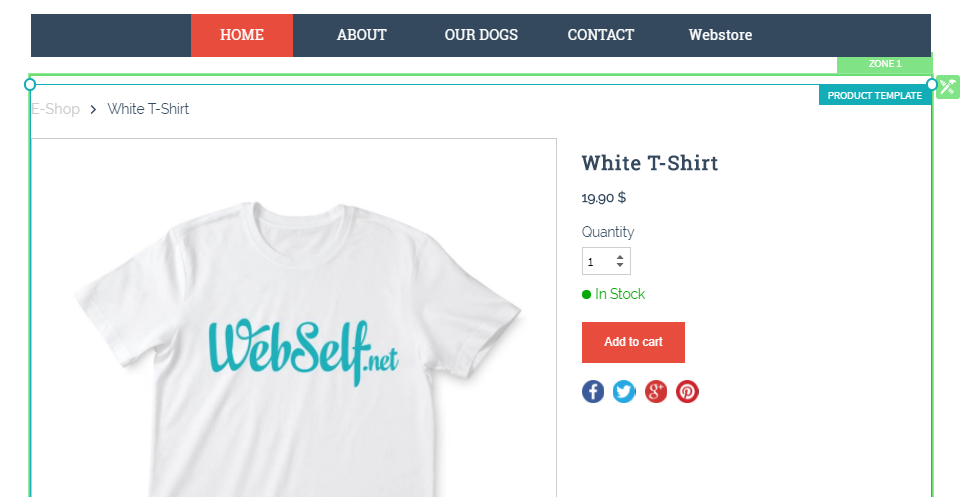
The "Product template" page appears, left click.
In the "Edit" section, you can set up the following options:
Settings
In the Settings section, the default options are:
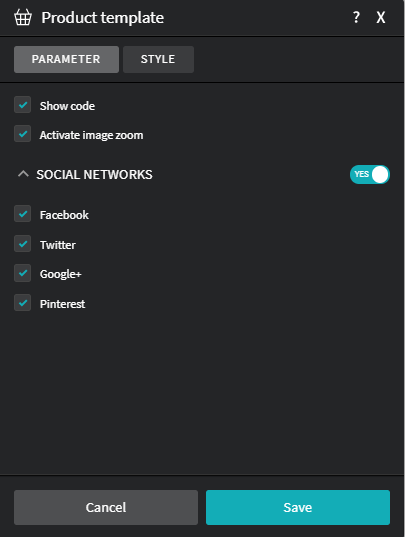
Display code: If you use codes for your products, this will display the code of each product;
Activate zoom on the image: this enables you to activate the zoom on a product image, to give your customers the possibility to see your product in more detail.
In the Social Networks sub-tab, the "YES" button is checked by default. These are your default options:
- Facebook: This allows to share this product on a Facebook account;
- Twitter: This allows to share this product on a Twitter feed;
- Google: This allows you to share this product on a Google+ account;
- Pinterest: This allows to share this product on a Pinterest account.
To save your settings, click on Save.
On the Style tab, these are your options:
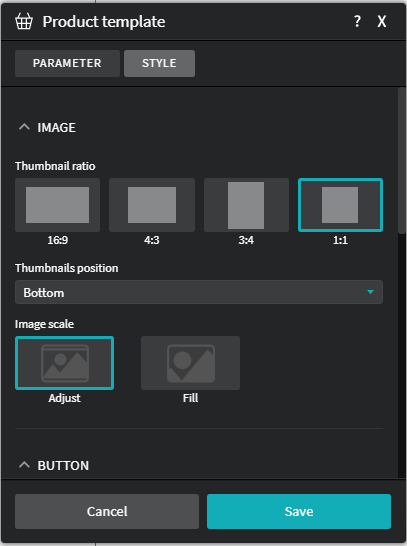
In the Image sub-tab, these are your options:
Thumbnails proportion: Choose the proportion of the thumbnail that best fits your product. The 4: 3 format is checked by default.
Thumbnails position: Choose the position of the thumbnail that best fits your product: Bottom, top, left, right.
Image scale: Choose the scale of the image that better adapts to your product: Add or Fill.
In the Button sub-tab, these are your options:
- Format display: Choose the display format that best fits your product: Round corners, Square corners, Ellipse.
- Text button "Add to cart": This allows you to customize the text of your button.
- Button colour: Choose a colour for your "Add to Cart" button.
- Text button colour: Choose a colour for your text of your button "Add to cart".
In the Product Name sub-tab, these are your options:
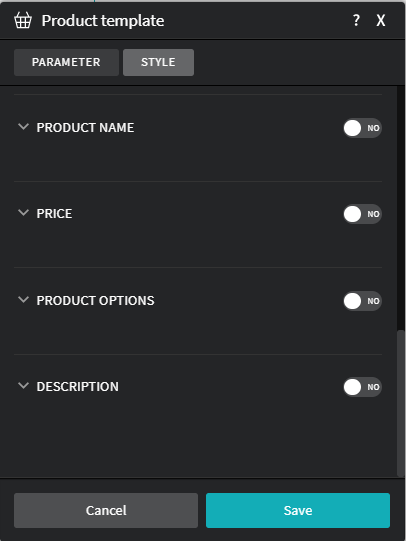
Click the "NO" button to enable the following options:
- Font: Choose the font for the product name;
- Font size: Choose the font size for the product name;
- Font colour: Choose a font colour for the product name.
In the Price sub-tab, these are your options:
Click the "NO" button to enable the following options:
- Font: Choose the font for of the product price;
- Font size: Choose the font size of the product price;
- Font Colour: Choose a font colour of the product price.
In the Product Options sub-tab, these are your options:
Click the "NO" button to enable the following options:
- Font: Choose the font of the product options;
- Font Size: Choose the font size of the product options;
- Font colour: Choose a font colour of the product options.
In the Description sub-tab, these are your options:
Click the "NO" button to enable the following options:
- Title
- Font: Choose the font of the product title;
- Font Size: Choose the font size of the product title;
- Font colour: Choose a font colour of the product title.
- Text
- Font: Choose the font of the product text;
- Font size: choose the font size the product text;
- Font colour: Choose a font colour the product text.
To save your settings, click on Save.
Style
In the Style section, these are your options:
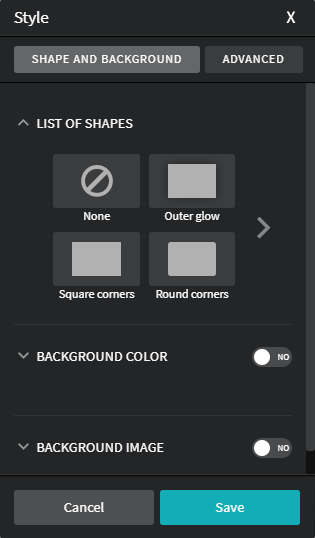
On the Shape and Background tab, these are your options:
- List of shapes: Choose the shape that best fits your product.
- Background Colour: Click the "No" button to have the option to choose a background colour.
- Background image: Click the "No" button to have the option of choosing a background image.
To save your settings, click on Save.
On the Advanced tab, these are your options:
- Select Margins: Click the "NO" button to set margins.
- Choose Round Corners: Click the "NO" button to set up the round corners.
- Choose Border: Click the "NO" button to set borders.
- Choosing the Shadow: Click the "NO" button to set up the drop shadow.
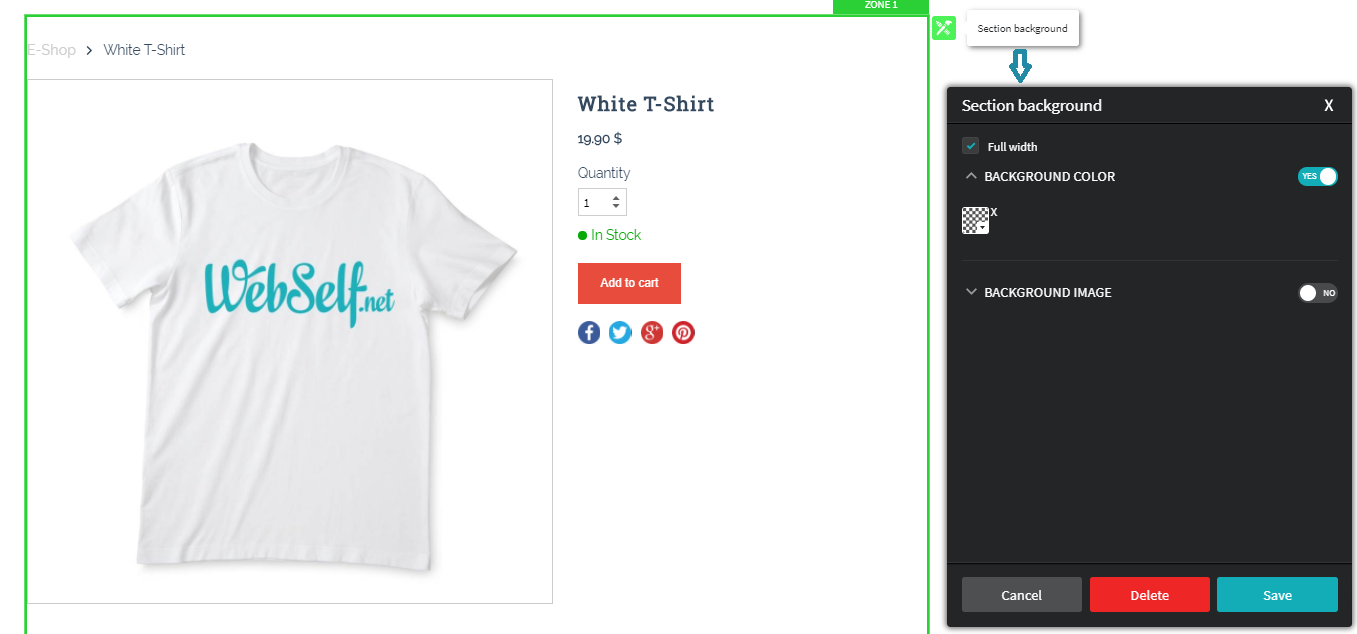
Note:
If you want to change the background section, click the Section Background icon, located at the right of the Product template.
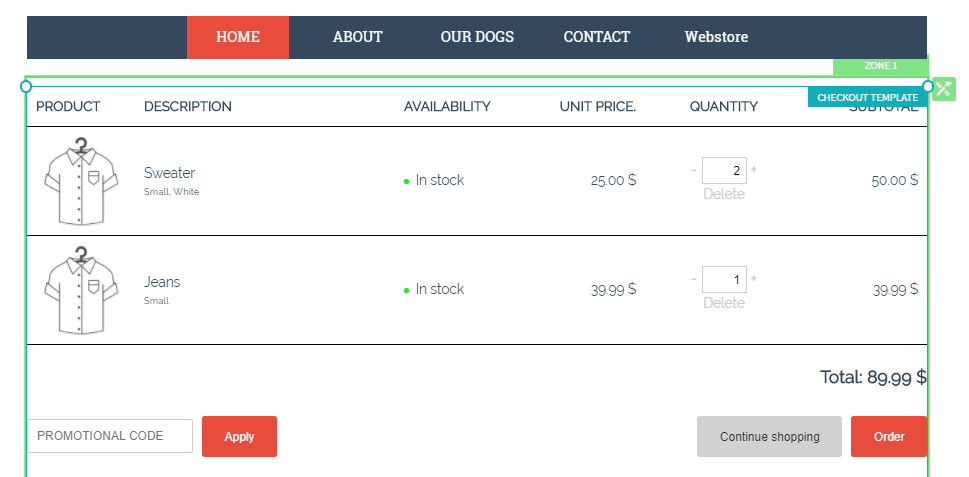
Check out
This is the page that summarizes your cart. Your customers will be able to modify the quantities selected, apply a promotional code and proceed to payment.
To customize the "Checkout Template" page, go to the "Pages" section, and then to "Checkout" and click on "Edit".
The "Check-out template" page appears, left click.
In the Edit section, you can configure the following options:
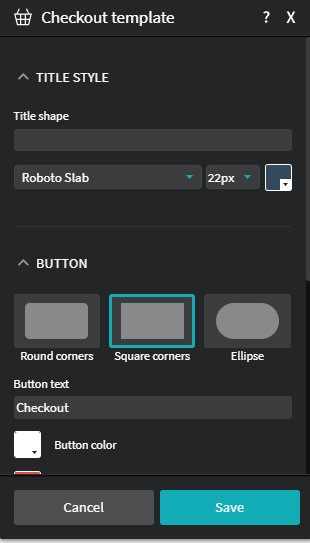
Title Style
Title shape: Enter a title for your cart. You can customize these three elements: font, font size, and font colour.
Button
Button shape: Choose from three options: Round corner, square corners or ellipse.
Button text: Enter a text for your button, for example, Order, proceed to payment, etc.
Button color: Choose the color for your button text.
Button background: Choose the colour for button background.

Other parameters
- Page font: Choose a font; you can also customize these three other elements:
- Link color: choose the colour for the "Delete" link.
- Total color: Choose the colour for the "Total" text .
- Dividers color: Choose the colour for the lines used to divide the different items.
To save this configuration, click on Save.
Note: The checkout URL of the eShop is never on the domain of the client and is toujours on the WebSelf domain. This is to ensure that the customer's eShop continues to operate even in the event that payment for domain renewal fails or the customer decides to change their domain name.
In the "Style" section, you can configure the following options:
On the Shape and Background tab, here are your options:
List of shapes:
Choose a background shape (the options are presented in a list form);
. Choose a Background colour;
. Choose a Background image.
Background colour, click the "NO" button to enable this feature.
Background image, click the "NO" button to enable this feature.
In the "Advanced" tab, you can set up the following options:
. Choose Margins;
. Choose Round Corners;
. Choose Borders;
. Choose Shadow.
To save this configuration, click on Save.
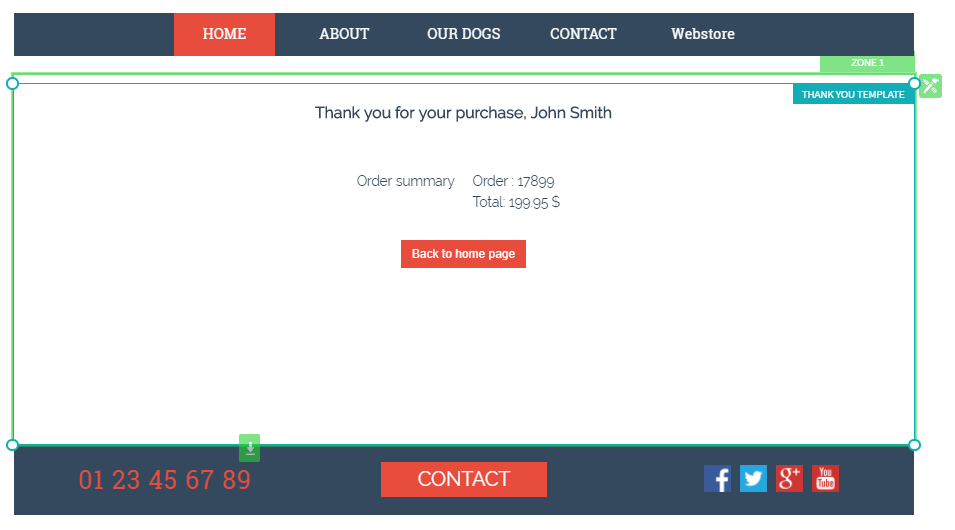
Thanks
This is the page that appears after your customers have completed the payment process.
To customize the "Thank You Template" page, go to the "Pages" section, and then to "Checkout" and click on "Edit".
The "Thank you template" page appears, left click.
In the "Edit" section, you can configure the following options:
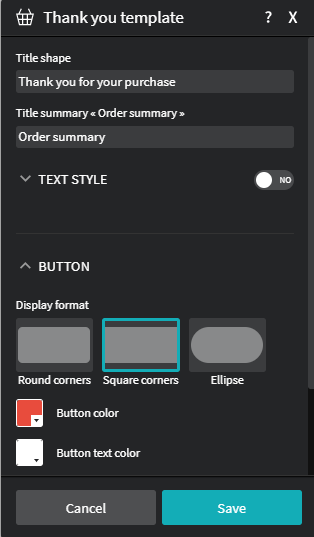
Title: The caption "Thank you for your purchase" is shown by default; customize your title.
Title summary: The caption "Summary of your order" is shown by default; customize your title.
Text Style, click the "NO" button to enable this feature. You can customize these three elements: Font, font size, and font color.
Button
- Display format: Choose from three options: round corners, square corners or ellipse.
- Button Colour: Choose the colour for your button text.
- Button Background: Choose the colour for button background.
- Text of the "Back to Home" button: Enter a text for your button.
To save this configuration, click Save.
In the "Style" section, you can configure the following options:
On the Shape and Background tab, here are your options:
List of shapes:
. Choose a background shape (the options are presented in a list form);
. Choose Background colour;
. Choose the Background image.
Background colour, click the "NO" button to enable this feature.
Background image, click the "NO" button to enable this feature.
In the "Advanced" tab, you can configure the following options:
- Choose Margins;
- Choose Round corners;
- Choose Border;
- Choosing the Shadow.
- To save this configuration, click on Save.