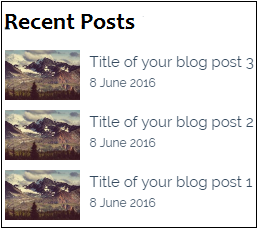
When you create your Blog, the Recent posts module is displayed by default.
However, if you want to display a Recent posts module on a specific location, on your site you can add it with an "Articles" module.
To add a Recent posts module, go to the left side of the editor, in the "Blog" section, drag and drop the Articles icon to the desired place on your page.

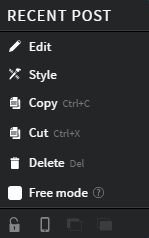
Edit
In the Settings section, you will be able to set up the following items:
On the Posts settings tab, these are your options
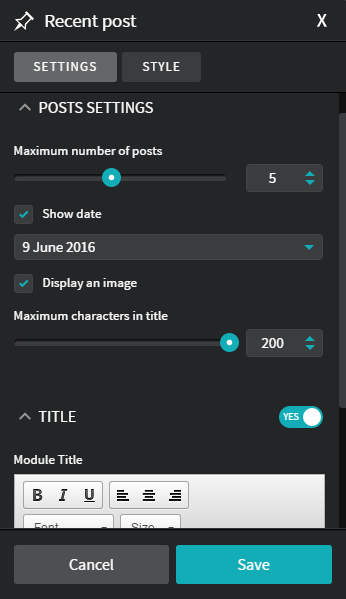
- Maximum number of posts.
- Show date;
- Displaying an image;
- Maximum character in title.
On the Title tab, you can change the Title.
- In the Style section, these are your options:
On the Colors and font tab; Click on the "No" button to activate the following options:
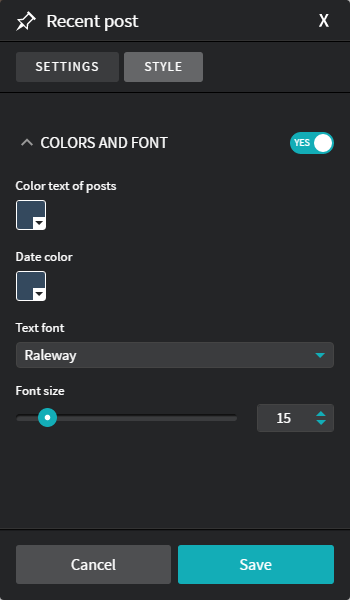
- Color text of posts;
- Date color;
- Text font;
- Font size.
Style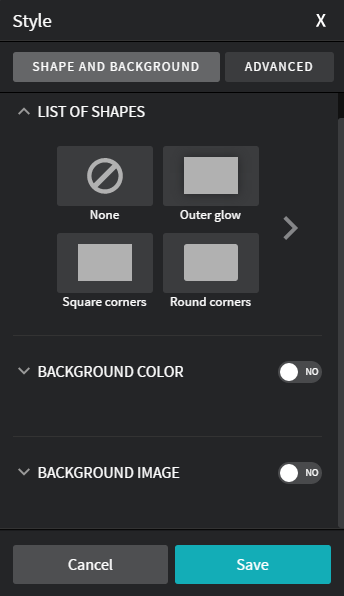
On the Shape and background tab, click on the "No" button to activate the following options:
- List of shapes;
- Background color;
- Background image.
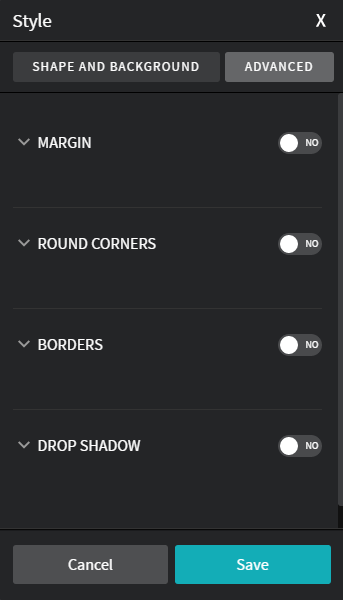
On the Advanced tab, click on the "No" button to activate the following options:
- Margin;
- Round corners;
- Borders;
- Drop shadow.
- Save.
Customize the appearance of your Recent posts module
To customize the appearance of your recent posts, right click directly on the Recent post on your blog.