Definition
A redirection can replace an input URL by an exit URL. You can use redirects to signal search engines that a page address has permanently or temporarily moved (in case of maintenance for example). You can set up 301 (permanent) and 302 (temporary) redirects.
When do you need a redirect
The three most common reasons for using redirects are:
1. You already have a site and your domain is not hosted by WebSelf.
If you have an existing site and just created a new one on WebSelf, the 301 redirect will help you maintain your SEO. Most importantly, you won’t lose visitors while redirecting your visitors to your new site. The 302 redirect also redirects the visitor to the new page, but SEO will remain linked to the old non-WebSelf URL.
2. The URL of your page has changed.
If the URL of your page has changed, your visitors will encounter a 404 error page as they access your former URL. To avoid this situation, you can set up a redirect that will automatically send visitors to your new URL.
3. The page has been deleted.
If you have deleted a page, you may choose to send your visitors to another page instead of displaying a 404 error page.
Whatever the reason, in order to create a redirect, the domain name must be hosted by WebSelf. If you are transferring your domain from another host, you must wait until the transfer process is complete, before you can configure a Redirect.
Setting up a redirect
Redirects are easy to set up, but they require planning before implementing.
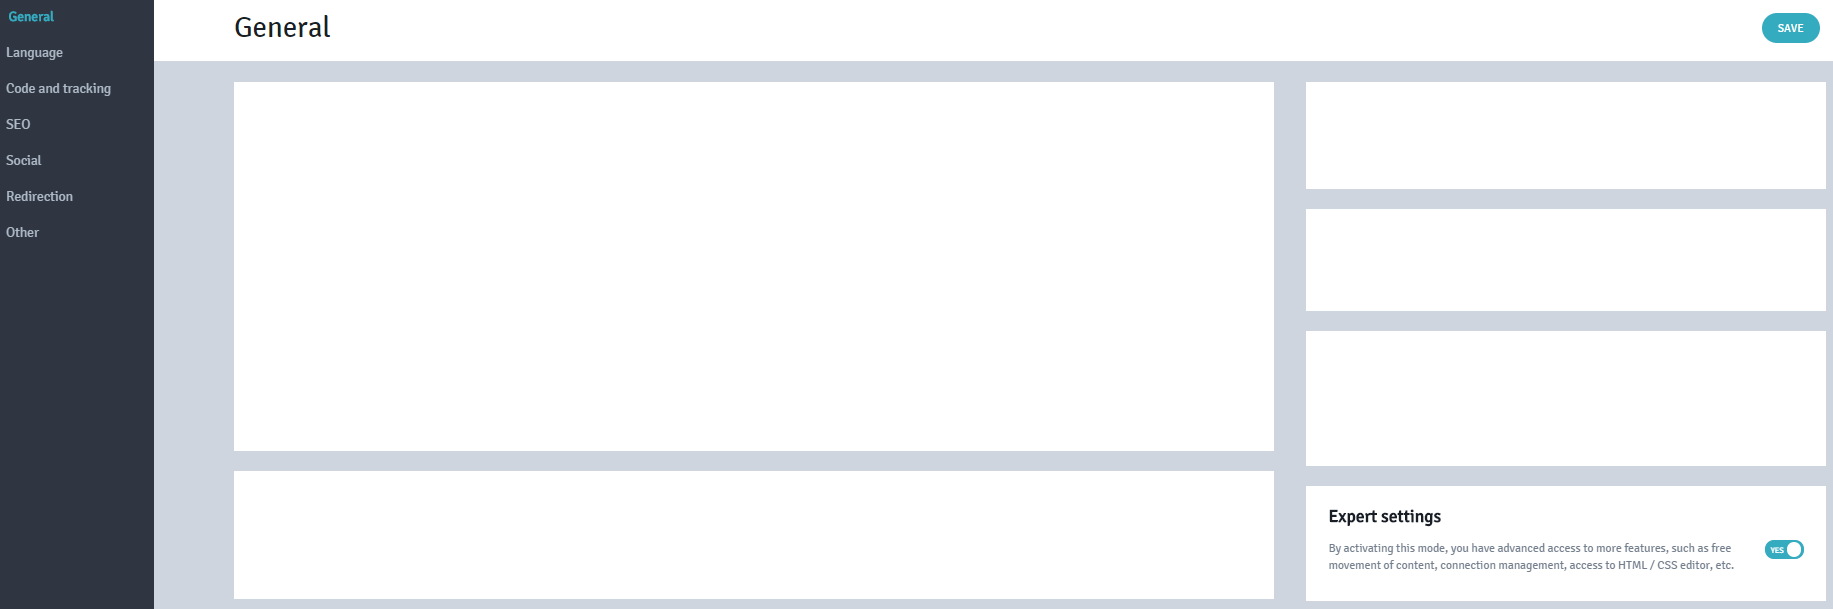
To set up redirects, go to the editor's left column and click on the Settings icon.
![]()
Click on the ¨No¨ button on the ‘Expert Settings’ to enable this feature.
Once this feature is enable, Redirect will appear on the left column.
Click on ‘Redirect’ then on ‘Add a redirect’.

A window will appear to set up a redirect:
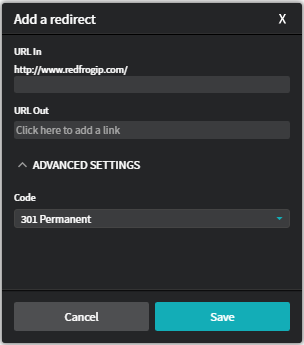
- URL in: Enter the URL you want it to redirect.
- URL out: Enter the URL you want it to redirect to.
A window will appear, and these are your options:
- Web address (URL): To add an External redirect (From an specific page from your site to another site).
- Page from my site: To add an Internal redirect (From one page to another page from your site).
In the Advanced Settings, select the Type of redirect:
- 301 redirect (Permanent).
- 302 redirect (Temporary).
In the URL In field: The path portion of the URL (https://www.mysite.com/) is set by default. It is only necessary to write the name of the source page.
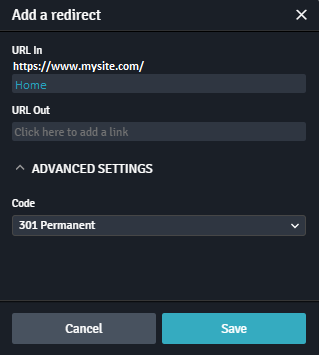
Example: If the login URL is: https://www.mysite.com/home then you just need to type Home.
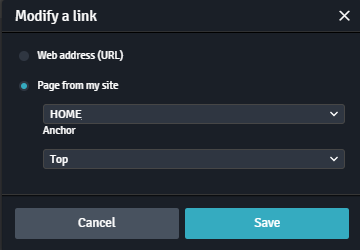
In the URL Out field: Click on the drop-down window, the options to Redirect this page appear:
- Web address (URL): the page configured in the entry URL will be redirected to another website. You just need to type the URL.
- Page of my site: the configured page URL of entry will be redirected to a page of your site. Click to choose the desired page, and the position of the Anchor if you wish.
- Product of my store: (only if you have an E-Shop) click on the drop down window to choose the product of your store.
- Post of my Blog: (only if you have a Blog) click on the drop down window to choose the blog's post.
Click on Save.
In the Advanced Settings sub-menu:
In the Code field: choose from the drop-down window and type of redirection:
- 301 Permanent: to indicate to the search engines that a page has changed its definitive URL.
- 302 Temporary: to indicate to the search engines that a page has temporarily changed its URL (for example, in case of maintenance).
Note:
It is best to use 301 redirects, especially if you want to conserve your SEO.
Permanent 301 redirects are set up by default, but you can always change this to a 302 Temporary redirect.